RTView Data Collector for Solace
The RTView Data Collector collects Solution Package data via connections that you define in the RTView Configuration Application and sends the collected data to the RTView Data Server, which collects this data and any additional data that the RTView Data Server is collecting. This collected data is then pulled into Enterprise Monitor via an RTView Data Server connection created in the RTView Configuration Application.
Important! The Data Collector does not generate alerts or store history data. This functionality is performed by the data server.
This document describes how to configure the RTView Data Collector including defining the connection information for the Solution Package for Solace, how to connect to the RTView Data Server, and how to verify that your setup is working properly.
Tip: For information regarding the overall RTView Data Collector architecture as well as how to set up security for the related RTView processes, see Central Server.
Tip: If you are interested in setting up High Availability (failover) for your Data Collector, review Data Collector High Availability prior to starting this flow.
Tip: In addition to using the RTView Configuration Application for configuring your Solace connections, you can use the Property Editor REST API to import initial connections or automate connection updates. See Property Editor REST API for more information.
Before You Get Started
This flow assumes that you have already downloaded, installed, and have a target RTView DataServer up and running. Additionally:
- You must be installing on a system consistent with the System Requirements.
- You must have Java installed and you should know the installation directory path.
- If you are upgrading to a new version of the RTView DataCollector, review the Upgrade Instructions to see if there are any additional steps required.
-
You should know the connection settings for your solution packages:
Solace connections : For message routers, know the SEMP Version of the message router(s), URL, and VPN (if defined). For Syslog connections, know the protocol, host, and port.
Installing the Data Collector
The RTView DataCollector is included with the RTView DataServer deliverable. See the Installation and Registration steps in RTView DataServer for Solace - Installation and Setup
Starting the Data Collector
In the command window, navigate to the RTViewDataServerSolace directory and type:
start_collector.bat (Windows)
./start_collector.sh (UNIX/Linux)
Note: Port prefixes - The start_collector script starts the DataCollector on port 3266 with HTML Server (Eclipse Jetty, by default) on port 3270. If these ports conflict with other processes running on your system, you can change the first two digits of the ports by using -portprefix: and specifying the first two digits you want to use for the ports in the command line. For example: start_server.bat -portprefix:44(which would change the ports to 4466 for the DataCollector and 4470 for HTML Server). If you want to save your port prefix, you can change the port prefix in the RTView Configuration Application (see the next section), or you can use -saveportprefix: command line argument (for example: start_collector.bat -portprefix:44 -saveportprefix ).
Access the RTView Configuration Application
Open a browser and type:
http://localhost:3270/rtvadmin OR http://<IP address>:3270/rtvadmin (for a remote installation using Eclipse Jetty)
Note: Port prefixes - If you specified a different port at startup (due to a port conflict), you must use the port you specified in the command line. For example, if you specified 44 as your port prefix in the command line at startup, then you would use: http(s)://<IP address>:4470/rtvadmin
The Authentication required dialog displays.
Log in using rtvadmin/rtvadmin as the username/password.
The RTView Configuration Application displays.
Open a browser and type:
http://localhost:3270/rtvadmin (for a local installation using Eclipse Jetty)
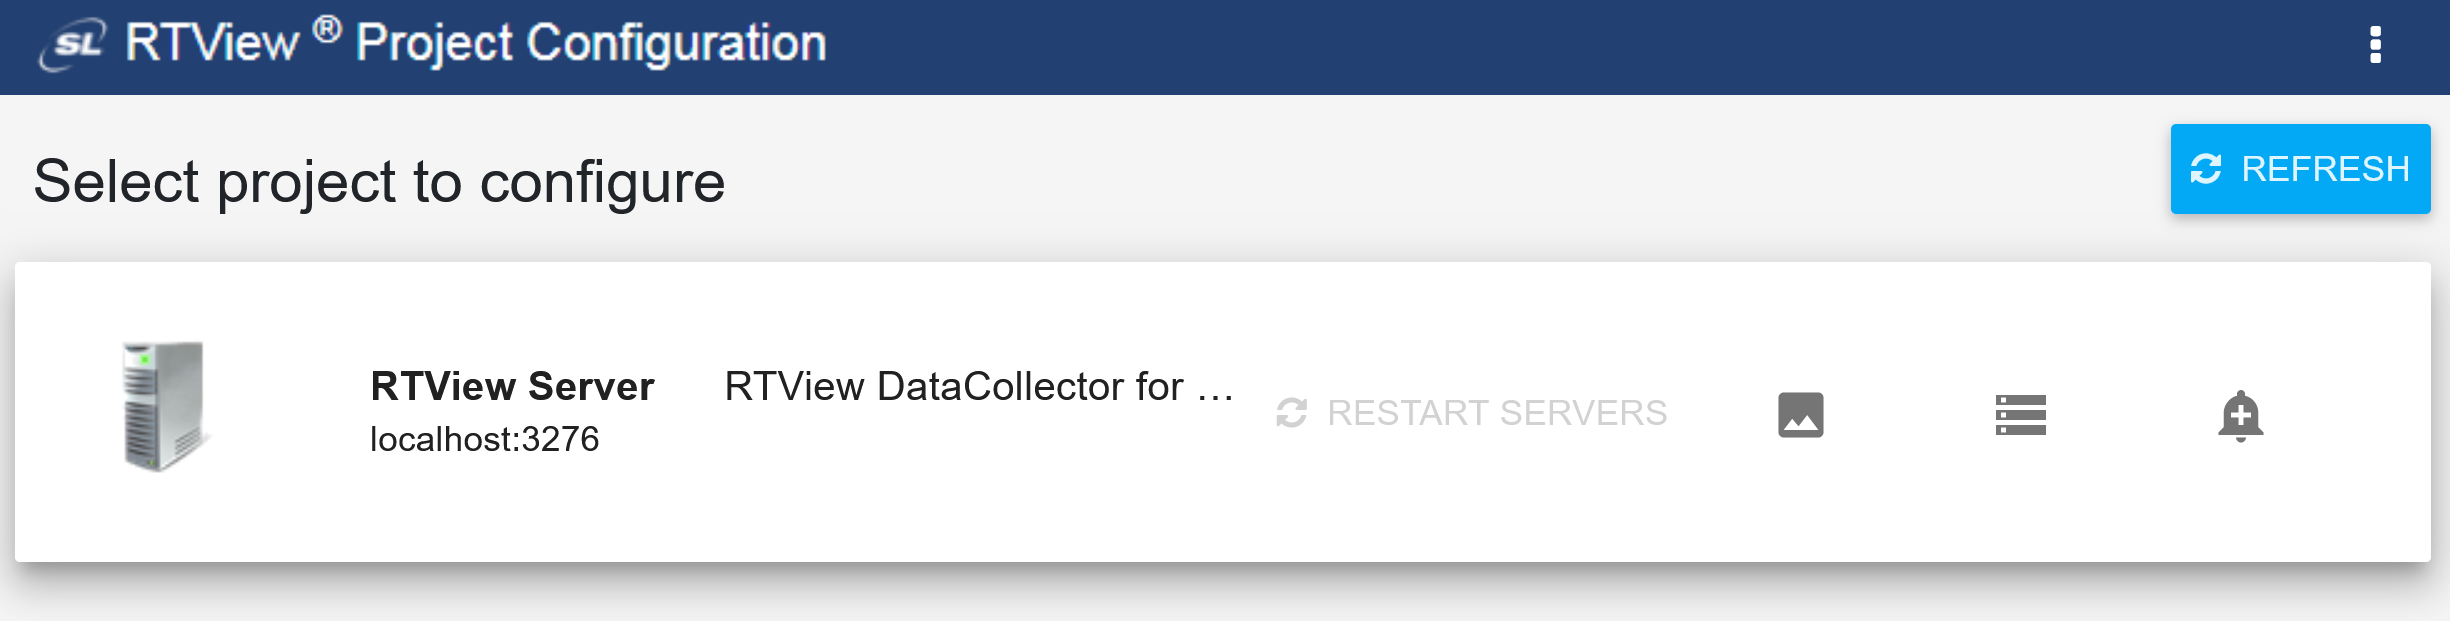
Click RTView DataCollector for Solace .
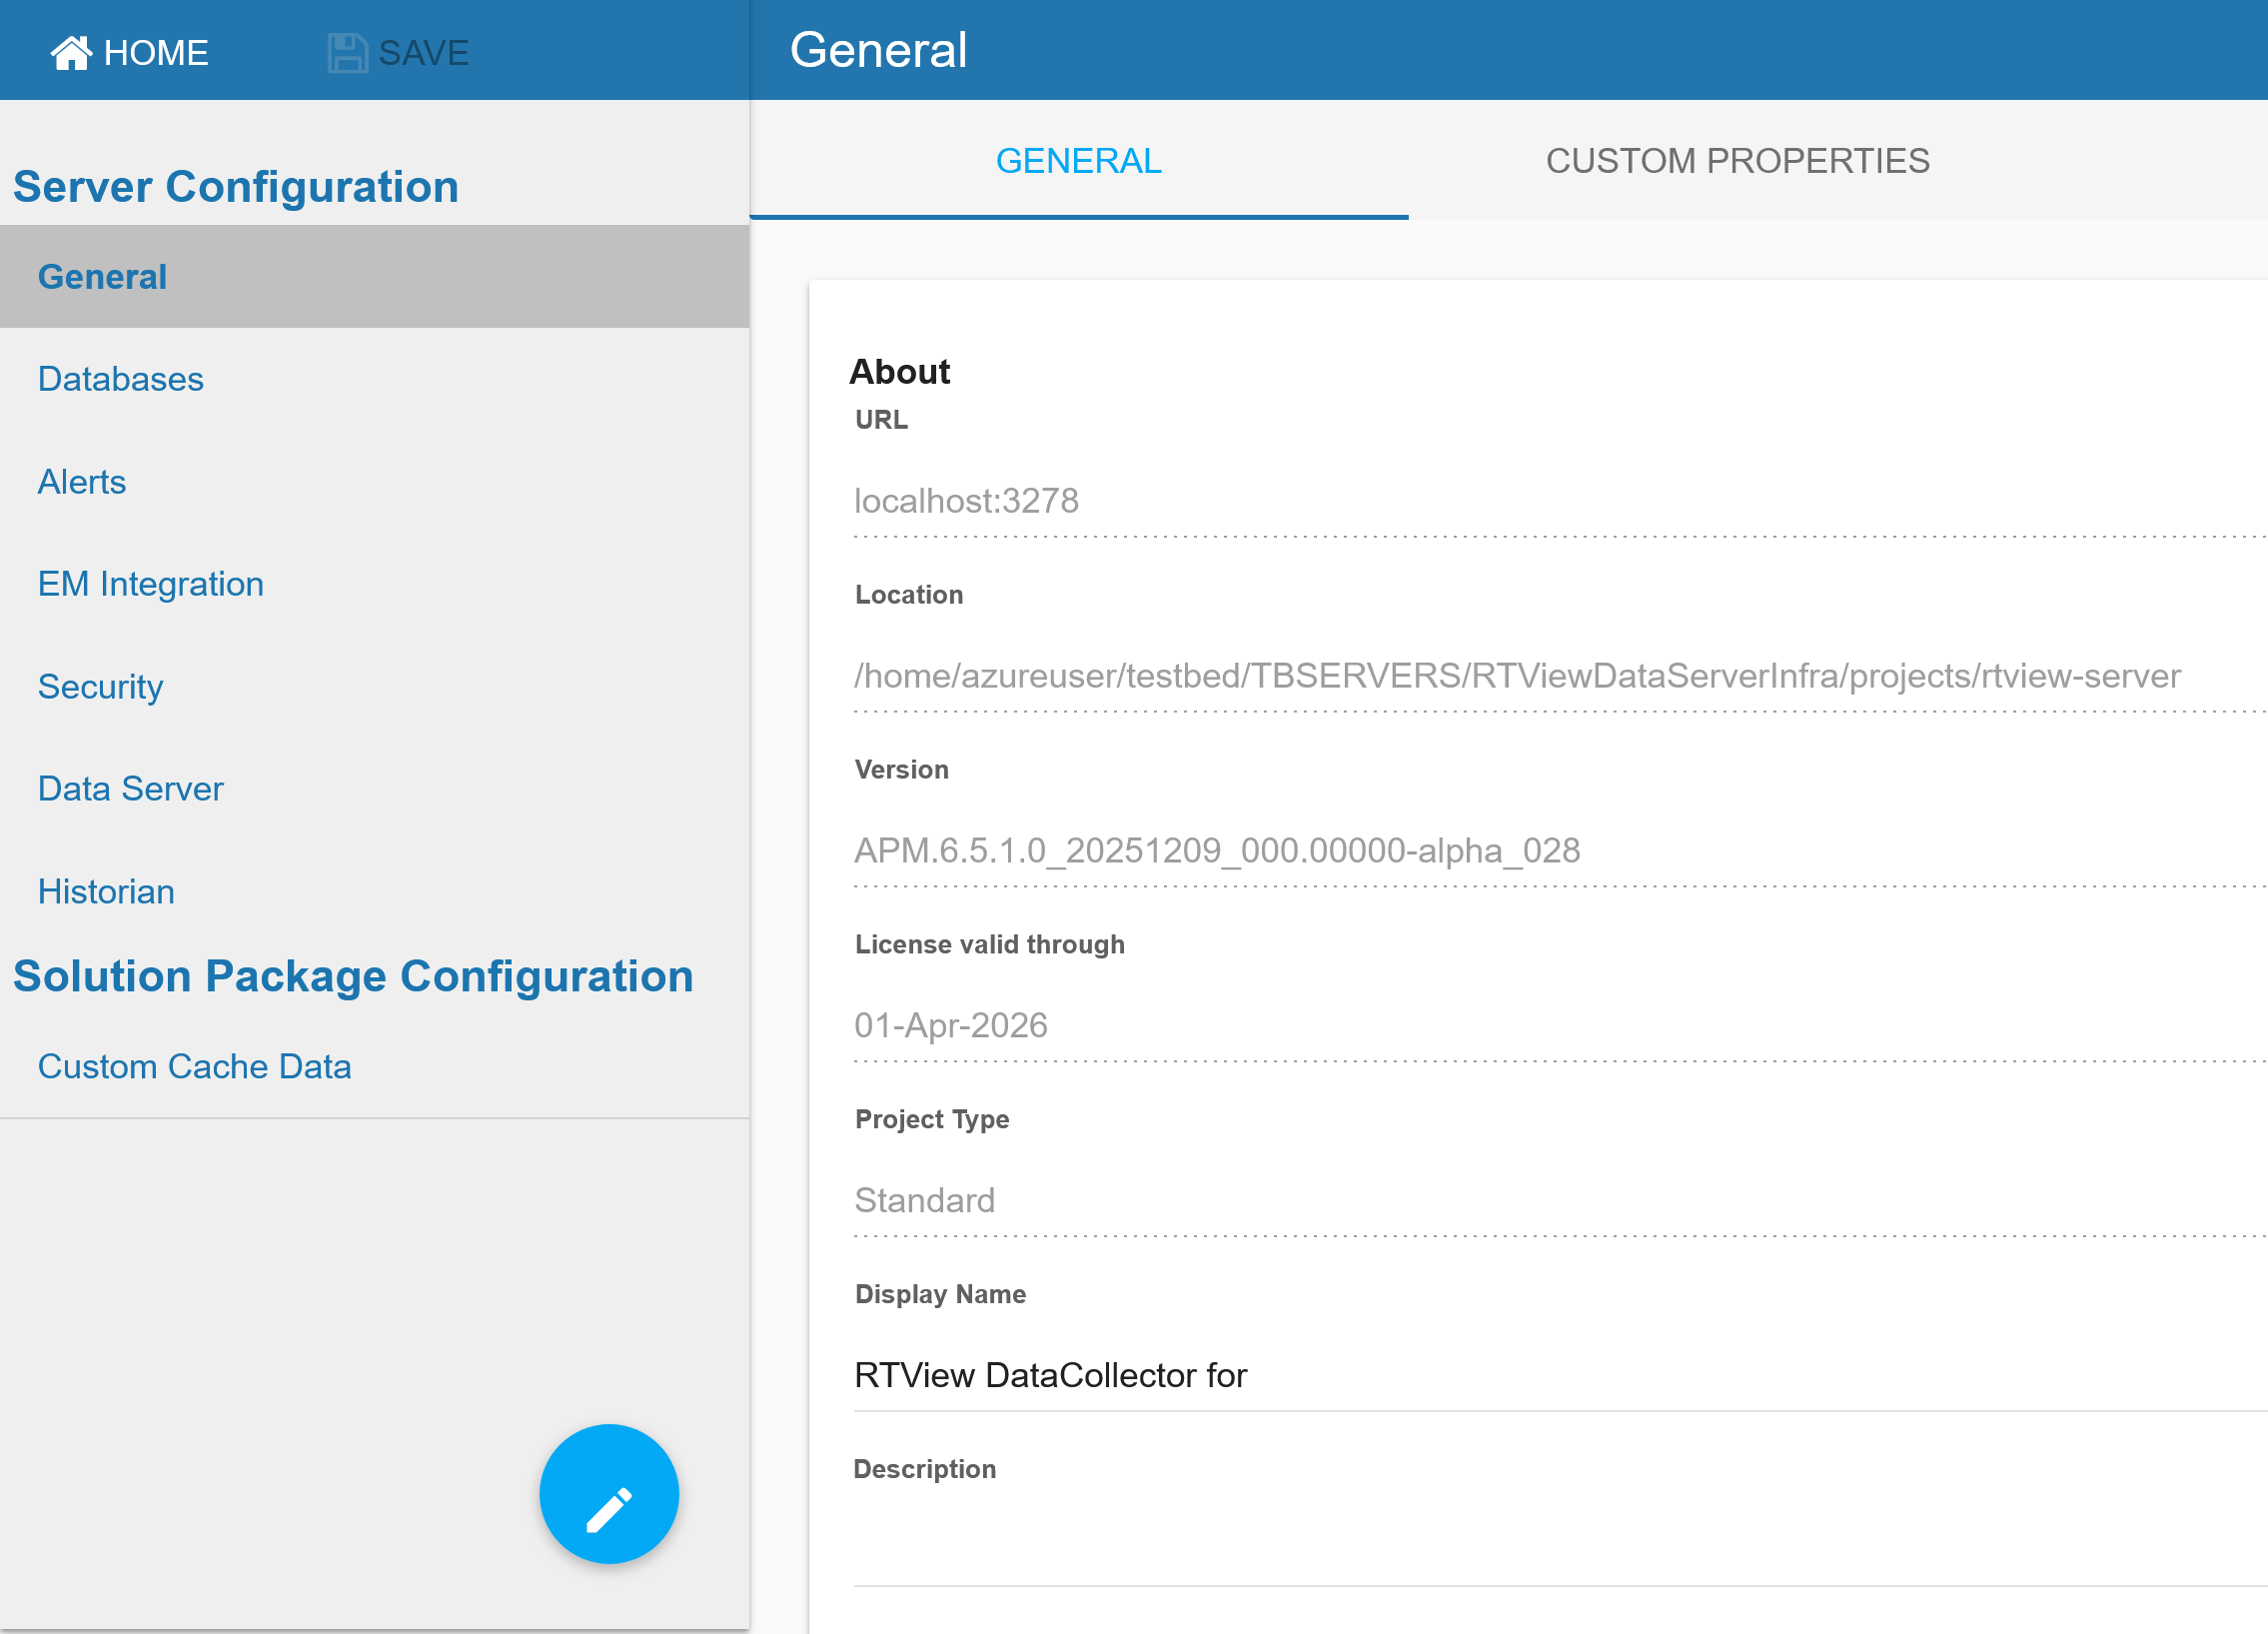
The RTView Configuration Application displays with the General tab open. The navigation tree is in the left panel and the General and Custom Properties tabs are at the top of the page. These instructions use the following format to describe navigation to each tab: Navigation tree>Tab. For example, the figure below illustrates the General>GENERAL Tab.
Note: Port prefixes - As previously mentioned, if you modified the port at startup, you should modify the port prefix so that you do not need to specify the port on the command line every time you run the startup script. To do so, navigate to Server Configuration > General > General Tab > Ports > Port Prefix and define a new port prefix. If you change the Port Prefix to 44 then, after saving your changes and restarting your data server, you would access the RTView Configuration Application for the RTView DataServer for Infrastructure using the following URL: http(s)://localhost:4470/rtvadmin (instead of the default http(s)://localhost:3270/rtvadmin URL)
Configuring Solution Packages
Next, you need to specify the directory path to any required external .jar files and you need to create your connections for the each of your solution packages.
Under Solution Package Configuration, select the desired solution package you want to configure. See the links below to view the steps required to set up the configuration for different solution packages:
Note: Some Solution Packages are not available by default and must be enabled using the  icon. Solution Packages you are not using can be disabled.
Data Cache: No configuration necessary.
Configuring Solution Package for Solace PubSub+
RTView Manager (not enabled by default)
Connecting to the Data Server
Next, you need to connect the RTView Data Collector for Solace to an RTView Data Server. To connect the two servers:
- Navigate to Server Configuration > Data Server > Collector tab.
The Collector tab displays with a default target1 already created. This target is configured to send all solution package data to localhost:3272, which only works if your data collector and data server are on the same machine. If your data server is on a different machine, you will need to edit this target.
- To edit the existing target, click the "pencil" icon associated with the target.
The Edit Target window displays.
- Define the target server information and click SAVE where:
ID: The name you want to give to the target server.
URL: The complete URL for the target server connection.
Note: If the target RTView Data Server is configured as High Availability, use an HA URL in the Target field of the Configuration Application, ex. primaryhostname:3272,backuphostname:3272. See Data Collector High Availability and Data Server High Availability for more information about these configurations.
Targets: Select one of the options:
All solution packages: (default) Sends all solution package data to the target (receiver) data server.
Select solution packages: Opens the Solution Packages dialog that allows you to select the solution packages for which you want data sent to the target (receiver) data server.
Enabled: Enables/disables the target connection.
Saving and Restarting Your Changes
Once you have created all of your connections, click the SAVE button in the RTView Configuration Application.
For your changes to go into effect, restart the server by clicking  button in the upper right-hand corner.
Alternatively, you can restart from your installation directory by typing the following in your command window:
stop_collector.bat (Windows)
./stop_collector.sh (UNIX/Linux)
start_collector.bat (Windows)
./start_collector.sh (UNIX/Linux)
Verifying Your Setup
Once you have set up your connections for your data server, you can verify your setup by accessing the following URL:
http(s)://localhost:3270/common
The RTView Cache Viewer application displays, which allows you to view the details for the caches that are collecting data.
Logging
By default log files are written to a logs directory under the project directory where a process is started, such as projects/rtview-server/logs. The log file name and location relative to the startup directory can be changed in the Configuration Application in the Data Server tab.
By default messages are appended to any existing logs/X.log file (where X is "dataserver", or "dataserver_sender", etc depending on the name of the server) until it reaches a size of 50MB. Then it is renamed to X.log.N (where N = 1 - 9) and a new empty X.log file is created. So at any time the logs directory may contain X.log (newest, up to 50MB in size), and X.log.N where N = 1 - 9, each approx 50 MB, where 1 is the oldest and 9 is the newest. Once N = 9 is reached, on the next rollover X.log.1 is deleted and each remaining X.log.N is renamed to X.log.N-1.
The logging in RTView© Enterprise utilizes Log4j2, and users familiar with Log4j2 can configure the default logging behavior by editing the logging properties file available at projects/sl.log4j.properties. Refer to the Apache Log4j documentation for more information on configuring Log4j.
Warning! Configuration changes should be restricted to projects/sl.log4j.properties. The backup log4j properties file at rtvapm/common/conf/sl.log4j.properties should never be edited.